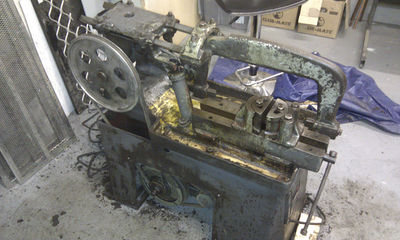
Equipment/Donkey Saw
Jump to navigation
Jump to search
| Donkey saw | |
|---|---|
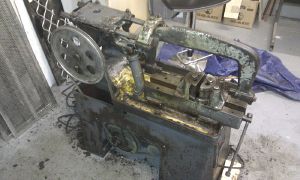 | |
| Model | Unknown |
| Sub-category | Metalworking |
| Status | Out of order |
| Last updated | 21 January 2022 12:56:11 |
| Consumables | Blades, Oil |
| Accessories | Unknown |
| Training link | Unknown |
| ACnode | No |
| Owner | Unknown |
| Origin | Pledge:_Donkey_Saw |
| Location | Basement, Dirty Metal Shop |
| Maintainers | yetifiasco |
CURRENT STATUS: Working - Needs to be properly fixed to the floor and levelled.
UPDATE: Shock absorber fixed.
Update: 20 Aug 2013 - Liam - cut and drilled new tensioner bar for the free end of the blade mounting. Fitted new blade and tested. Working OK. 5mm wall 50mm scaffold pole cut through in <20s!
Needs: New cable, mounted in steel conduit and cut to length (Work can fall on and damage the present cable). Emergency stop mushroom in power feed on wall. Cage or guard needs fabricating for the top belt pulley. Floor levelling and machine needs bolting down. Extra work rest needs fabricating to support longer work pieces.
Types of Materials it can Cut
- All iron/steel tube/box section
- All iron/steel rod/bar
- Larger aluminium tube/box section
- Larger aluminium rod/bar
- Non-ferrous rod/bar (NOT copper piping)
Types of Materials it CANNOT Cut
- ANY plate material, only a few teeth catch during the cut and there is a high chance of snapping the blade
- Small aluminium rod/bar/tube/box section, the saw is too heavy duty and will mangle the piece
- Copper piping for the above reasons
- Wood
- Plastic
Before Use
- Check the machine is stable and doesn't wobble
- Brush swarf from the clamping area
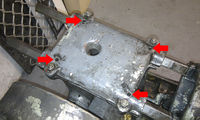
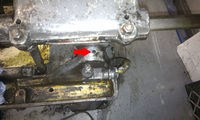
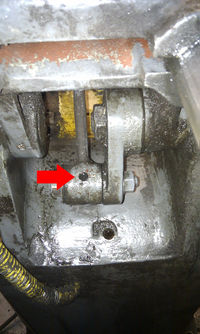
- Add oil to all oil holes with oil can
- Put a few drips of oil on the runners
Clamping
- Lift the saw arm up and prop it using the connected metal bar
- Set the vice to the correct angle using a 21mm spanner and a set square/angle gauge against the saws blade
- Clamp the job firmly, make sure it is level against the vice bed and any excess is supported
- GENTLY lower the saw arm back down until it is resting on the job, making sure the metal prop bar has fallen back in its slot - Shock absorber now fixed, arm will lower slowly by itself when dropped
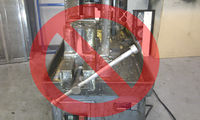
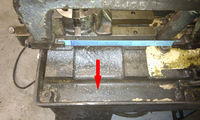
- IMPORTANT: Make sure the vice handle is out of the way of the saw and will not fall in front of the saw whilst in use, this is the only way to machine can really be damaged
During Cutting
- Keep the cutting area well lubricated with oil throughout
- DO NOT PRESS DOWN ON THE SAW ARM, this will not make it cut faster, it will only stress the blade and strain the motor, potentially breaking both
- Once the cut is complete, the saw should automatically turn off, if it doesn't, turn off the saw using the stop button and contact either YetiFiasco or paddyd on IRC
After Cutting
- Clean any metal swarf from the vice beds, vice head and screw thread
- Brush any metal swarf from beneath the blade to the trays at the side
- If the trays are full, scoop them out using a scraper
- Apply a light coat of oil to the vice bed if it is dry
- Make sure you leave the saw lowered
