Project:Nanode Case: Difference between revisions
No edit summary |
No edit summary |
||
| Line 1: | Line 1: | ||
== Nanode Case == | == Nanode Case - [[User:Ascen|Asc]] == | ||
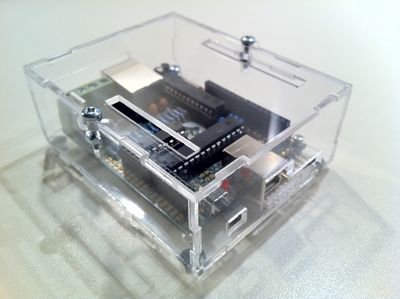
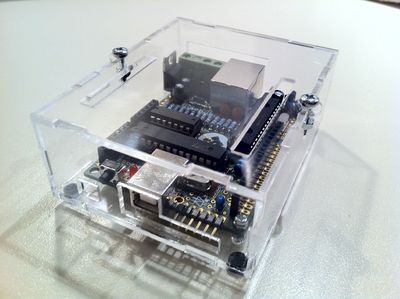
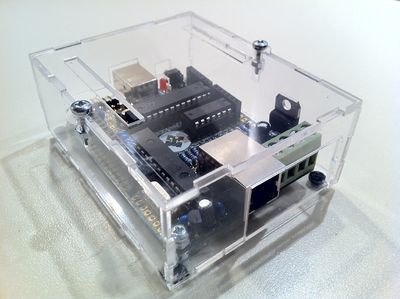
2mm acrylic case cut on a laser cutter for a Nanode (http://www.nanode.eu/ and http://www.thingiverse.com/thing:7463). | 2mm acrylic case cut on a laser cutter for a Nanode (http://www.nanode.eu/ and http://www.thingiverse.com/thing:7463). | ||
Revision as of 22:42, 8 September 2011
Nanode Case - Asc
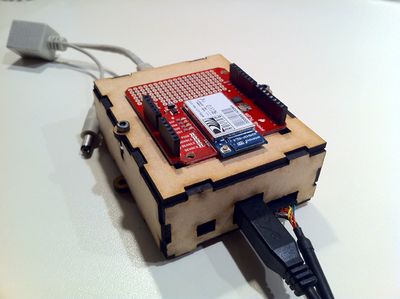
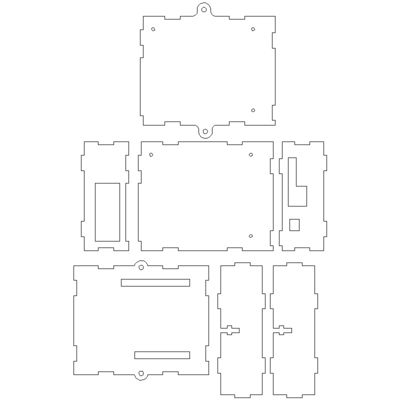
2mm acrylic case cut on a laser cutter for a Nanode (http://www.nanode.eu/ and http://www.thingiverse.com/thing:7463).
Designed to be small, light and able to have a removable lid.
There are two models, one that is simply a case the other has a base that include mounts which allow the Nanode and case you be attached to a wall.
The design allows all the parts to be cut on an A4 size sheet of 2mm acrylic.
The height of the case allows for headers to be used and supported by the case, meaning shields can be used nicely.
The design works well with 3mm thick material too but you need to move the tabs out by 1mm to make it all fit nicely. If you don't feel like moving the tabs out it still works well however.
Equipment needed:
- 1 x A4 2mm thick acrlic/perspex
- 2 x M3 12mm Screws or M3 12mm Socket Cap Screws
- 2 x M3 Nuts
- 3 x M2 10mm Screws
- 12 x M2 Nuts
- 4 x 6mm rubber feet (optional)
- and a small amount of Super Glue
Instructions:
- 1) Open the dxf and delete the base plate that you do not want.
- 2) Arrange the parts accordingly to fit on to the A4 sheet.
- 3) United lines (it will make cutting faster) and Cut.
- 4) Arrange the parts and layout in preparation for assembly.
- 5) Glue sides and base plate together and leave to dry.
- 6) For each M2 screw: screw on one nut, push through Nanode mounting hole, screw on two more nuts.
- 7) Place Nanode in to case - it is tight fit to get the screws in.
- 8) Use last three screws to fix Nanode to base plate.
- 9) Push M3 screws through lid and hand screw nuts on to end of screw.
- 10) Place lid on case by having lid slightly to one side then sliding across so that screw and nut slide in to gap.
- 11) Attach rubber feet to base plate.
