Project:Ubuntu Goblin: Difference between revisions
No edit summary |
mNo edit summary |
||
| (7 intermediate revisions by 3 users not shown) | |||
| Line 11: | Line 11: | ||
==Phase 2 - No Integrated Webcam? no problem..== | ==Phase 2 - No Integrated Webcam? no problem..== | ||
[[file: | [[file:goblin6.jpg|thumb|right]][[file:goblin11.jpg|thumb|right]][[file:goblin8.jpg|thumb|right]][[file:goblin5.jpg|thumb|right]] | ||
'''If you're thinking of trying this mod on your own laptop, then check your laptop user manual and the motherboard as it might already support an integrated webcam.''' My laptop didn't come with a built-in webcam and the motherboard doesn't support one, but that didn't stop me trying to fit it. You can buy integrated webcams complete with usb connector cables for about £8-15 on Ebay, mine cost £8 including postage. The first problem I had when it arrived was to figure out which wires corresponded with the connections on the rear of my usb port. At this point all I can advise is that you do your research on Google, USB connections are pretty generic, but the wire coding can vary between USB devices. <br><br> | '''If you're thinking of trying this mod on your own laptop, then check your laptop user manual and the motherboard as it might already support an integrated webcam.''' My laptop didn't come with a built-in webcam and the motherboard doesn't support one, but that didn't stop me trying to fit it. You can buy integrated webcams complete with usb connector cables for about £8-15 on Ebay, mine cost £8 including postage. The first problem I had when it arrived was to figure out which wires corresponded with the connections on the rear of my usb port. At this point all I can advise is that you do your research on Google, USB connections are pretty generic, but the wire coding can vary between USB devices. <br><br> | ||
After figuring that part out I then had to drill a small hole in the top centre of the frame around the screen, drilling out just enough of the plastic to allow the camera head to fit through snugly. Then with a little TLC and some careful | After figuring that part out I then had to drill a small hole in the top centre of the frame around the screen, drilling out just enough of the plastic to allow the camera head to fit through snugly. Then with a little TLC and some careful hacking, the whole process took less than a few hours to complete. I'm very pleased with the end result :) | ||
<br> | <br> | ||
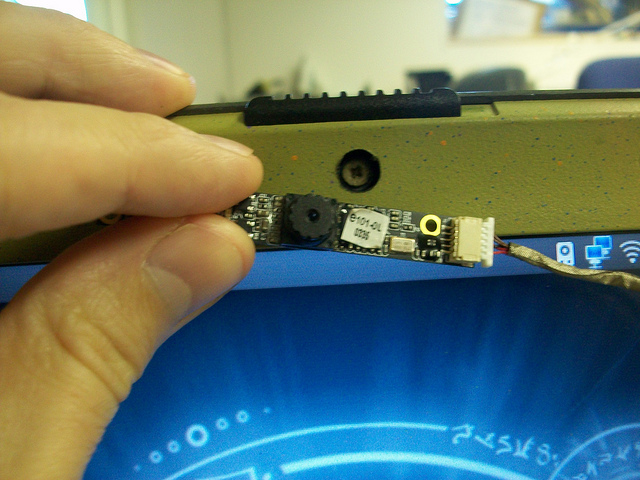
[[file:goblin4.jpg|frame|none|Integrated a webcam into the screen. Ordered a webcam from Ebay, although the camera was for a different model I did manage to solder it directly onto a usb port. Checkout [http://www.flickr.com/groups/londonhackspace/pool/with/5040319150/] for the images!]] | [[file:goblin4.jpg|frame|none|Integrated a webcam into the screen. Ordered a webcam from Ebay, although the camera was for a different model I did manage to solder it directly onto a usb port. Checkout [http://www.flickr.com/groups/londonhackspace/pool/with/5040319150/] for the images!]] | ||
[[Category:Projects]] | |||
Latest revision as of 01:00, 29 May 2013
| Ubuntu Goblin
| |
|---|---|
| QR code |
Phase 1 - Mod the Shell
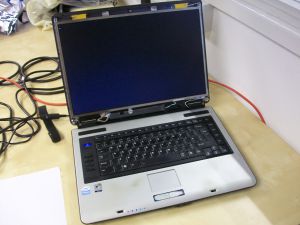
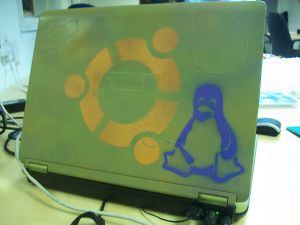
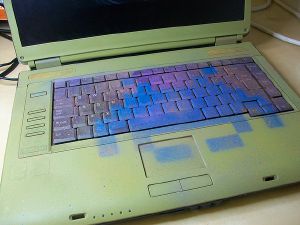
First you have to remove the shell from the laptop so you don't get any paint on the screen or on the internal components, being patient and removing the case completely will make the job a whole lot easier and the end result much cleaner. It's wise to test the spray paint on the underneath of your shell first, just a small section to make sure it doesn't warp or burn the plastic! Then while the shell dries print off and cut out your stencils, or simply buy them.
I printed and cut my own, it took about an hour or so.
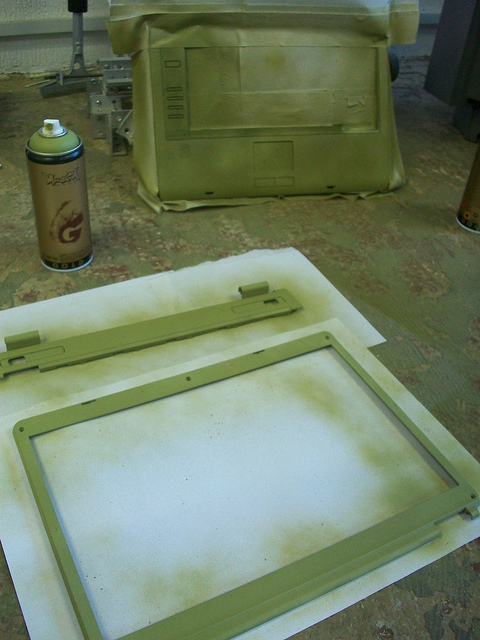
More photos on the HackSpace flickr page.. [1]
Phase 2 - No Integrated Webcam? no problem..
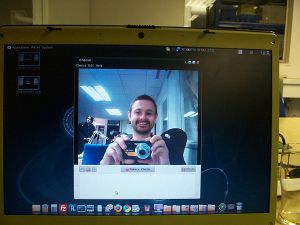
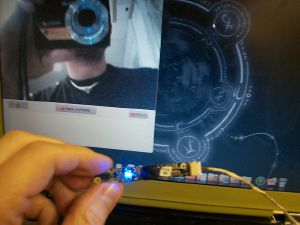
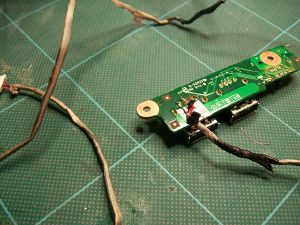
If you're thinking of trying this mod on your own laptop, then check your laptop user manual and the motherboard as it might already support an integrated webcam. My laptop didn't come with a built-in webcam and the motherboard doesn't support one, but that didn't stop me trying to fit it. You can buy integrated webcams complete with usb connector cables for about £8-15 on Ebay, mine cost £8 including postage. The first problem I had when it arrived was to figure out which wires corresponded with the connections on the rear of my usb port. At this point all I can advise is that you do your research on Google, USB connections are pretty generic, but the wire coding can vary between USB devices.
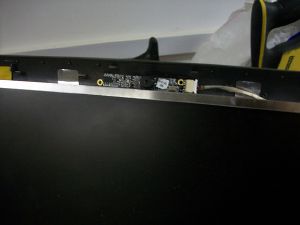
After figuring that part out I then had to drill a small hole in the top centre of the frame around the screen, drilling out just enough of the plastic to allow the camera head to fit through snugly. Then with a little TLC and some careful hacking, the whole process took less than a few hours to complete. I'm very pleased with the end result :)
