Laser Cutter/Instructions/Photo Engraving: Difference between revisions
From London Hackspace Wiki
< Laser Cutter | Instructions
KantPredict (talk | contribs) No edit summary |
KantPredict (talk | contribs) |
||
| Line 5: | Line 5: | ||
== How To Produce The Images == | == How To Produce The Images == | ||
You begin by importing the file you want to engrave into the GIMP editing software. Most, if not all of the Hackspace computers have this installed. | #You begin by importing the file you want to engrave into the GIMP editing software. Most, if not all of the Hackspace computers have this installed. | ||
#Next, you will want to reduce the image to greyscale for processing. | |||
#Any colour correction is best done at this stage while the image is still at it's original resolution. | |||
== '''TBC''' == | == '''TBC''' == | ||
Revision as of 21:26, 30 May 2014
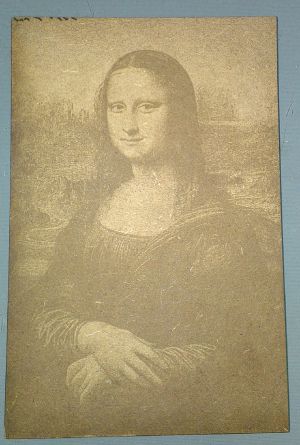
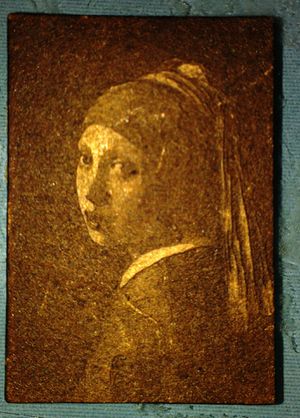
This page will explain how to get the best quality engraving results out of the software that is already available on the Hackspace computers, namely GIMP for the editing and LaserCut for the actual engraving.
How To Produce The Images
- You begin by importing the file you want to engrave into the GIMP editing software. Most, if not all of the Hackspace computers have this installed.
- Next, you will want to reduce the image to greyscale for processing.
- Any colour correction is best done at this stage while the image is still at it's original resolution.

