Difference between revisions of "Project:Nanode/Building a Nanode"
(→Step 6) |
|||
| Line 42: | Line 42: | ||
==Step 6== | ==Step 6== | ||
| − | The remaining 1R, 10R and 2K resistors are added. 1R has the colour code is Brown Black Black Silver. 10R is Brown Black Black Gold, 2K is Red Black Black Brown (The last band on the right on all resistors is Brown). | + | The remaining 1R, 10R and 2K resistors are added. 1R has the colour code is Brown Black Black Silver. 10R is Brown Black Black Gold, 2K is Red Black Black Brown (The last band on the right on all resistors is Brown). Note - we will not be fitting the two 68R resistors, the 1K5 and the 1M on the right hand side - these are a later option. |
[[File:4_add_1R_10R_2K_resistors.jpg|800px|center|thumb|Adding the remaining 3 resistors]] | [[File:4_add_1R_10R_2K_resistors.jpg|800px|center|thumb|Adding the remaining 3 resistors]] | ||
Revision as of 00:24, 2 June 2011
Building a Nanode - in Words and Pictures
Here's how to build up a Nanode as a step by step guide. It should take you a couple of hours.
Step 1
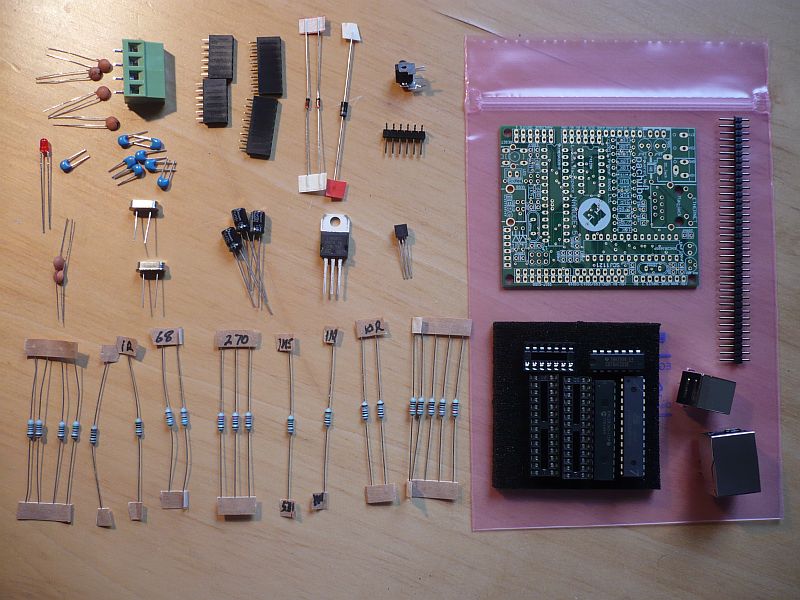
First identify the kit contents
Here you see all the resistors, capacitors, connectors, crystals and ICs needed to make the standard build of Nanode 5.
Step 2
Now orientate the board so that writing is like this.
This is the basic starting point for the build sequence. The pcb is built in an orderly sequence starting with the resistors and small components that are low on the board and then working up to the bulkier parts like connectors.
Step 3
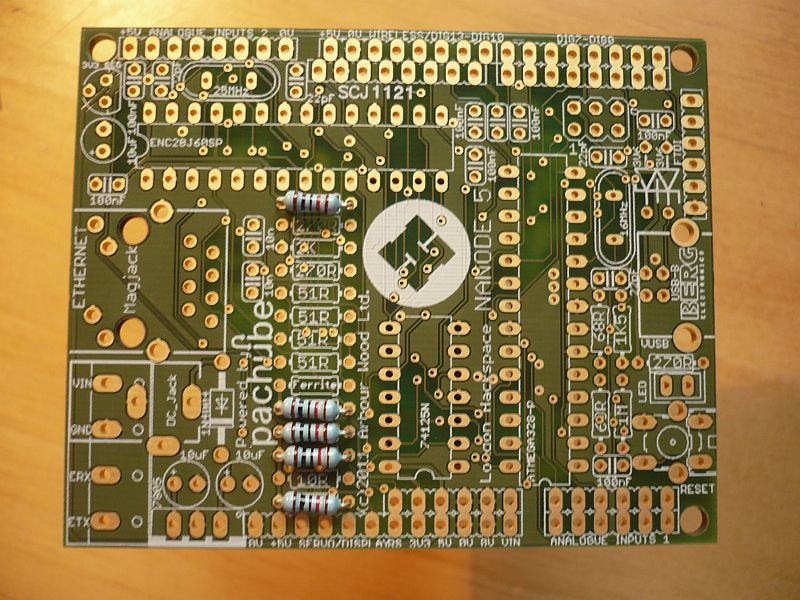
First we add the 5 10K resistors - the colour code is Brown Black Black Red (The last band on all resistors is Brown).
Step 4
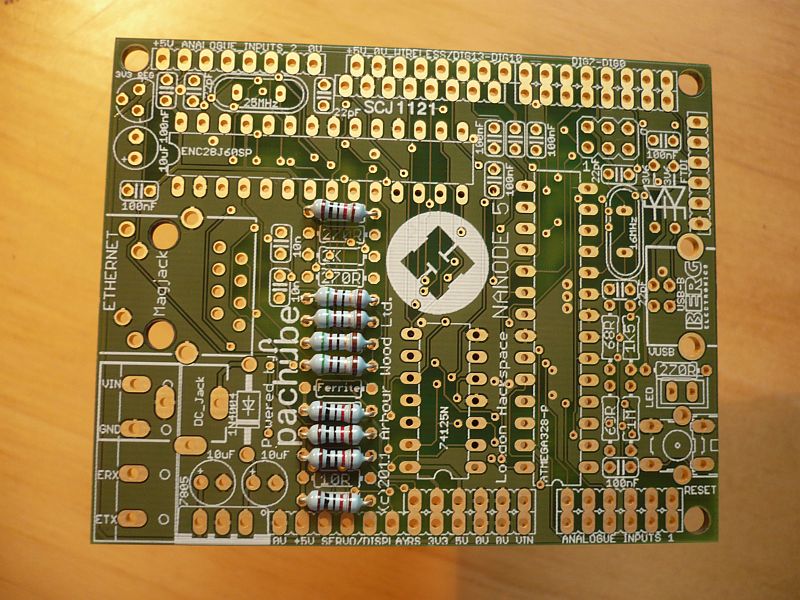
Now we add the 4 51R resistors - the colour code is Green Brown Black Gold (The last band on all resistors is Brown).
Step 5
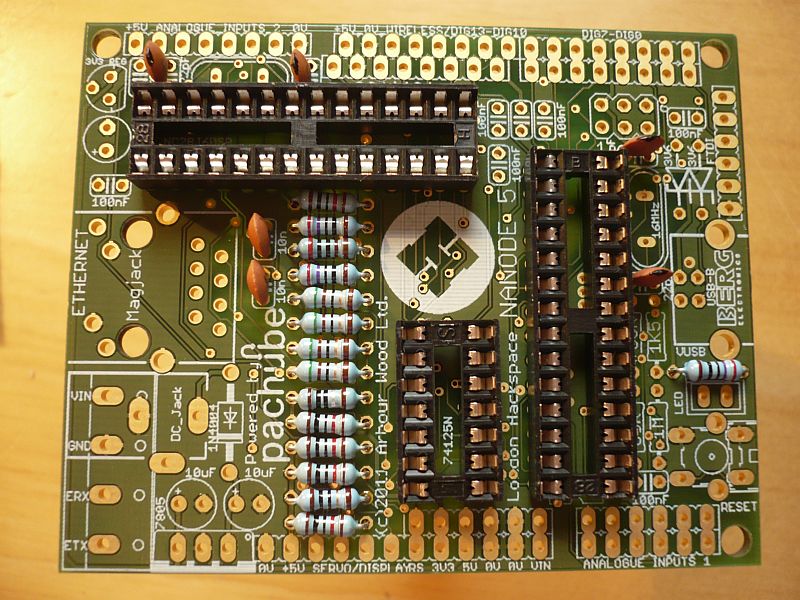
Now we add the 3 220R resistors - the colour code is Red Purple Black Black (The last band on the right on all resistors is Brown).
Step 6
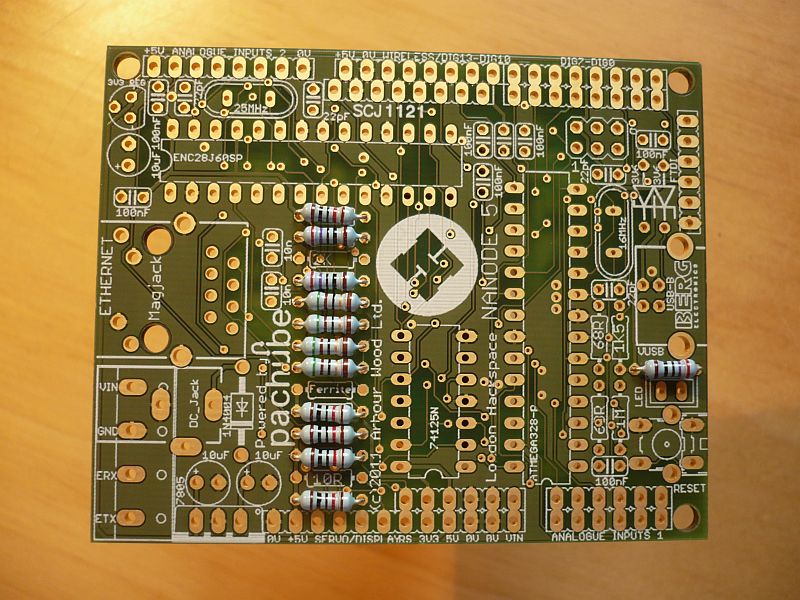
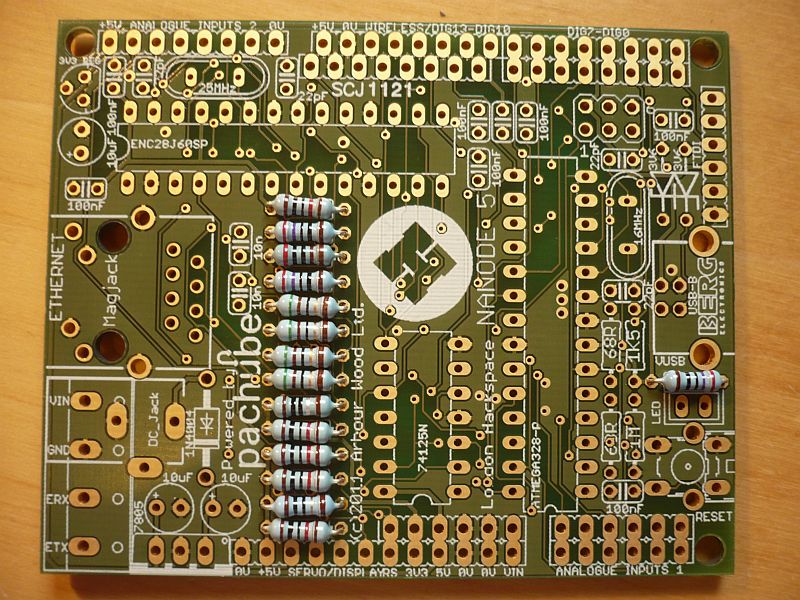
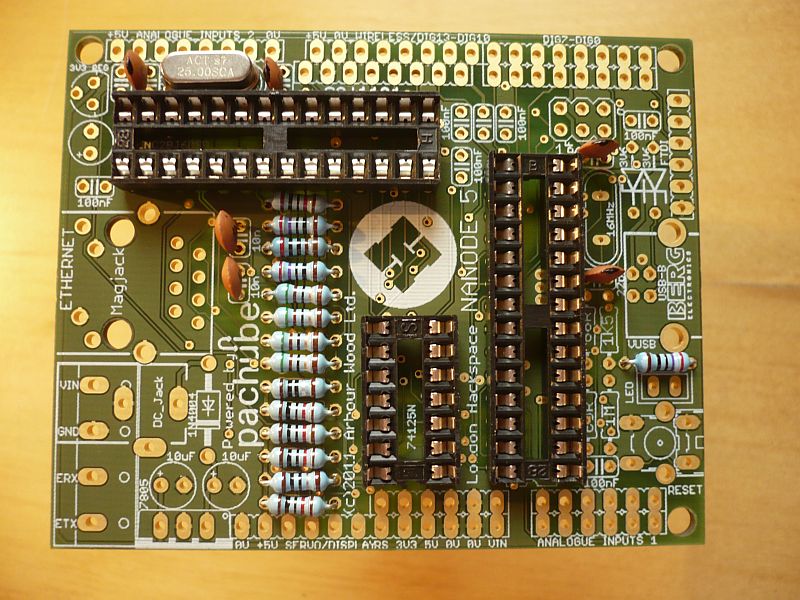
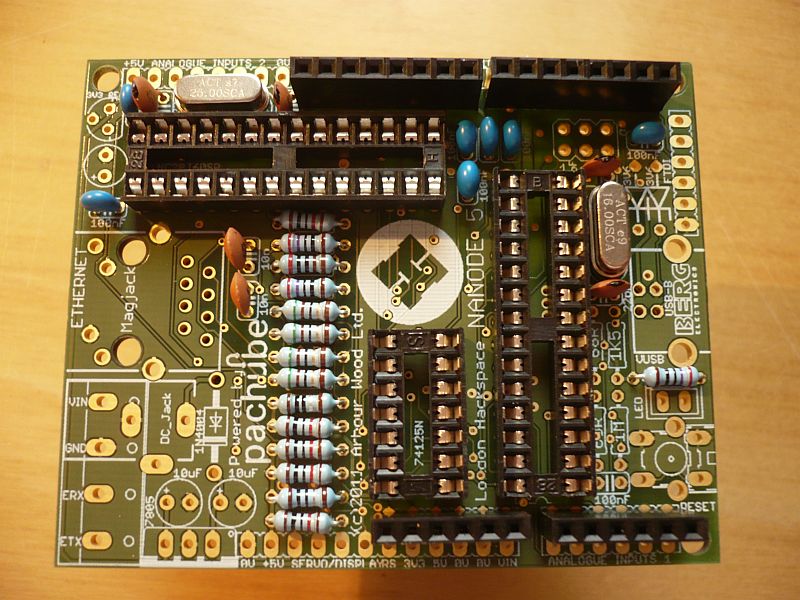
The remaining 1R, 10R and 2K resistors are added. 1R has the colour code is Brown Black Black Silver. 10R is Brown Black Black Gold, 2K is Red Black Black Brown (The last band on the right on all resistors is Brown). Note - we will not be fitting the two 68R resistors, the 1K5 and the 1M on the right hand side - these are a later option.
Step 7
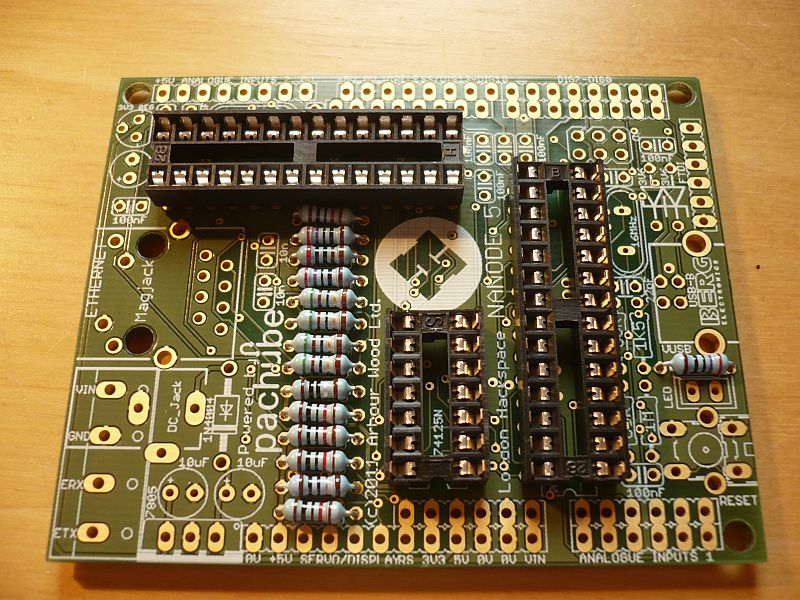
Add the IC sockets making sure that the pin 1 "notch" lines up with the notch in the symbol on the pcb.
Step 8
Add the four 22pF capacitors marked 22, and the two 10nF capacitors marked 103
Step 9
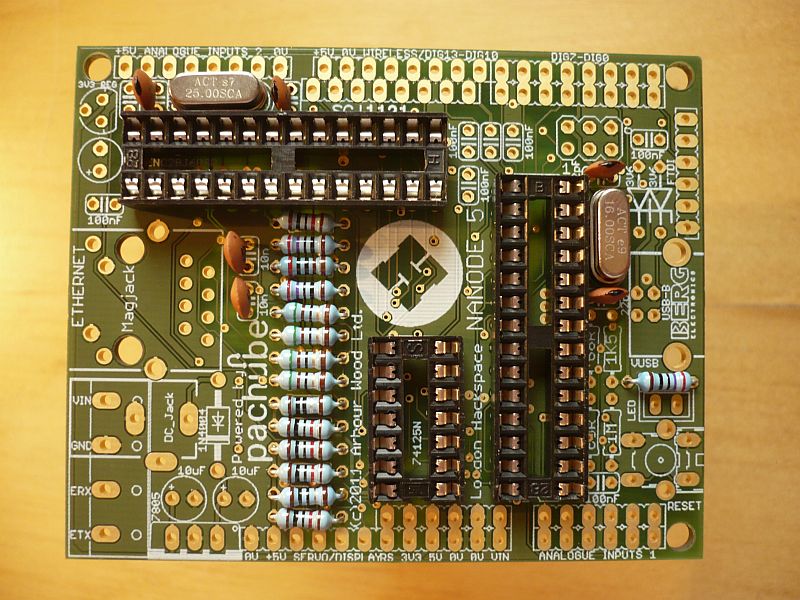
Add the 25MHz crystal marked 25.00SCA
Step 10
Add the 16MHz crystal marked 16.00SCA
Step 11
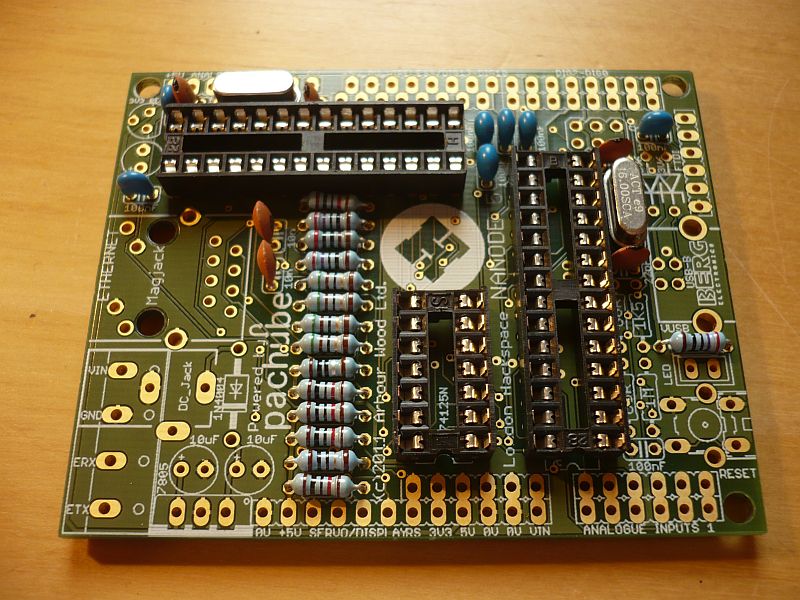
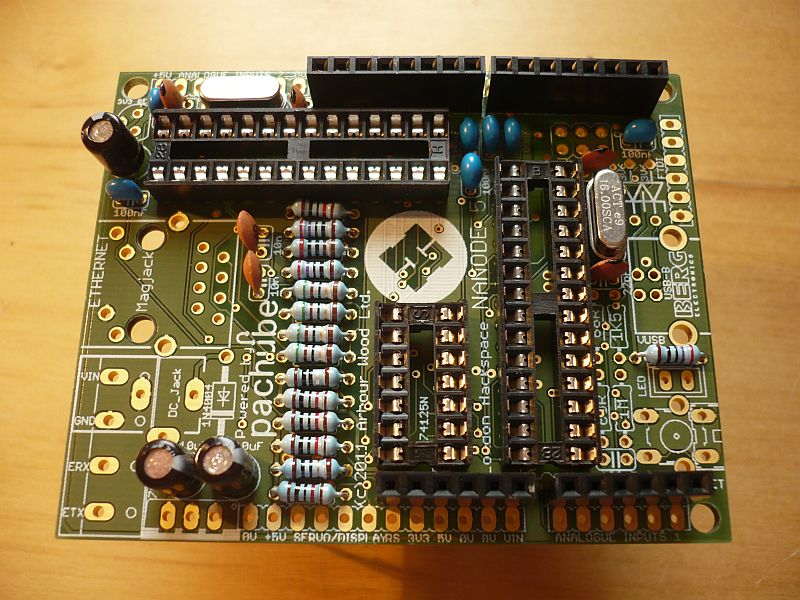
Add the seven 100nF capacitors, colour blue marked 104
Step 12
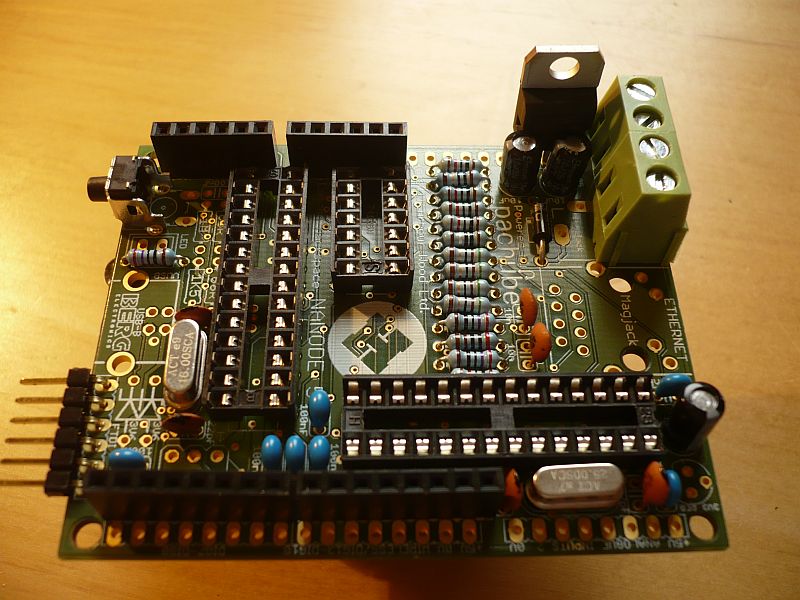
Here is the board so far - more than half way.
Step 13
Solder in the shield connectors. There are 2 x 6 way and 2 x 8 way. Make sure you get them in the inner lines of holes and theat they are in straight and vertical. Best to tack one end pin whilst you hold them straight - check the alignment then solder the remaining pins in place.
Step 14
Add the three 10uF electrolytic capacitors - noting that the longer lead is the positive which lines up with the + label on the pcb.
Step 15
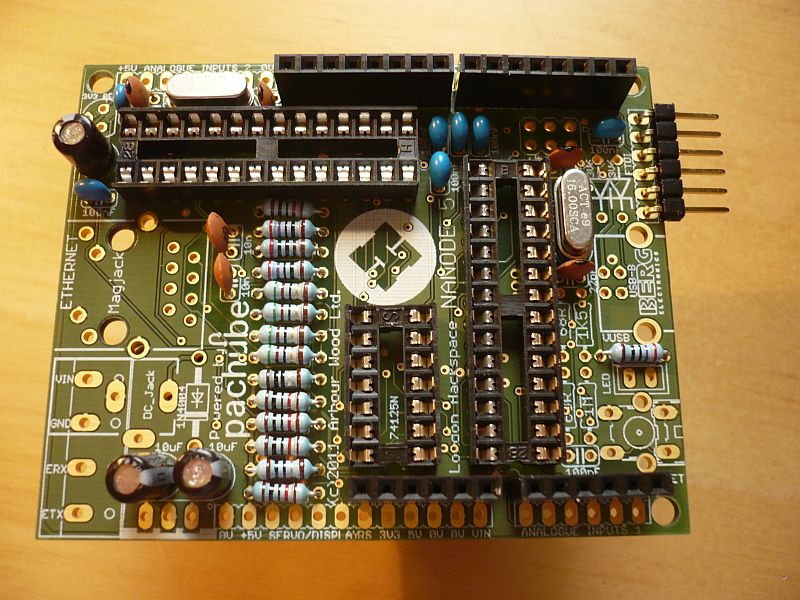
Add the FTDI header - a 6 way right angled header on the right hand side of the pcb. Make sure it is straight and level.
Step 16
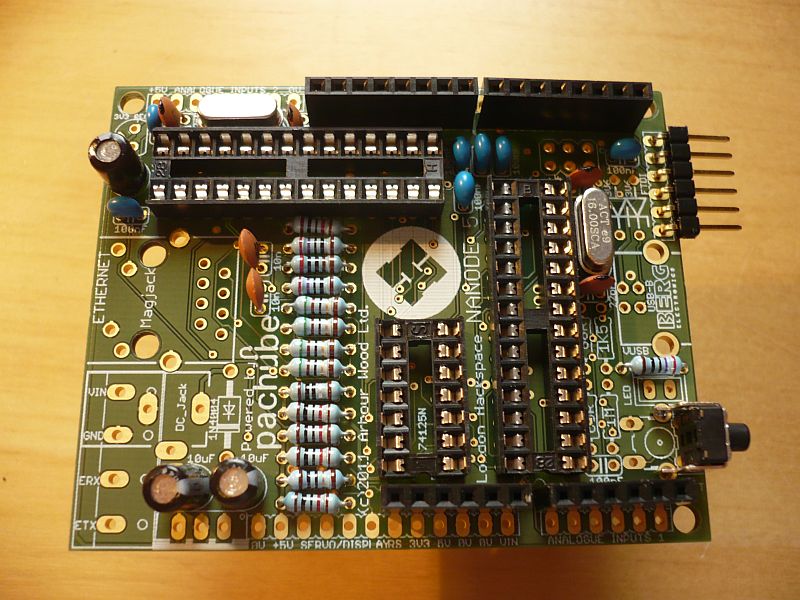
Fit the right angled reset switch
Step 17
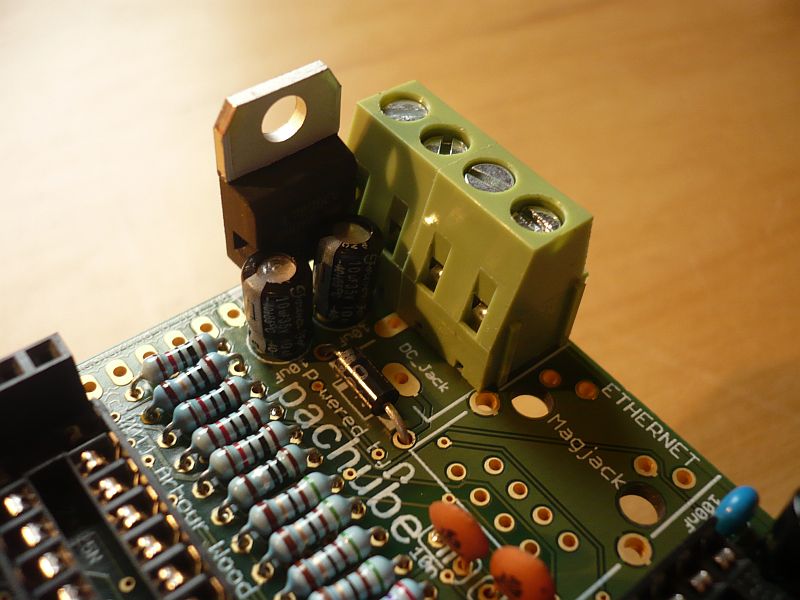
Add the 5V regulator as shown and the 4 way screw terminal block. You need to assemble the two 2 way terminal blocks to make a 4 way - BEFORE you solder to the pcb.
Step 18
Fit the 1N4001 protection diode as shown - noting that the banded end lines up with the band on the pcb legend
Step 19
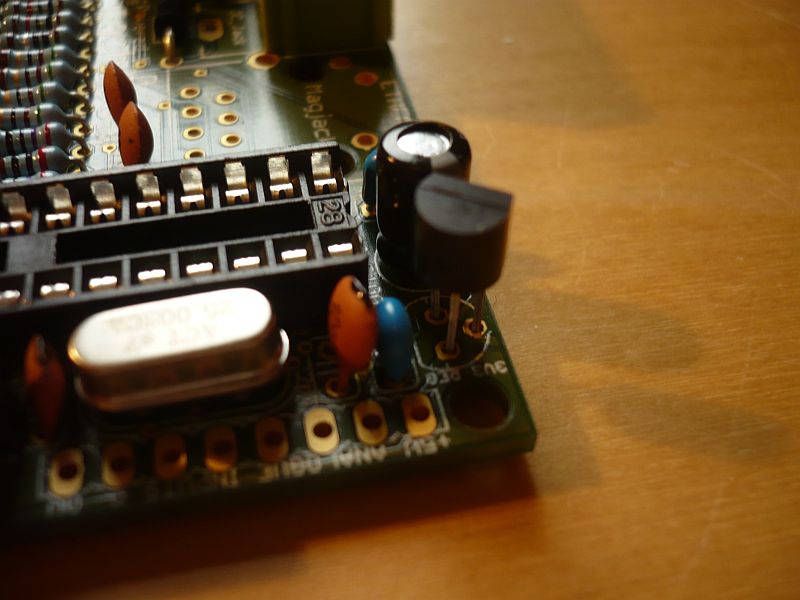
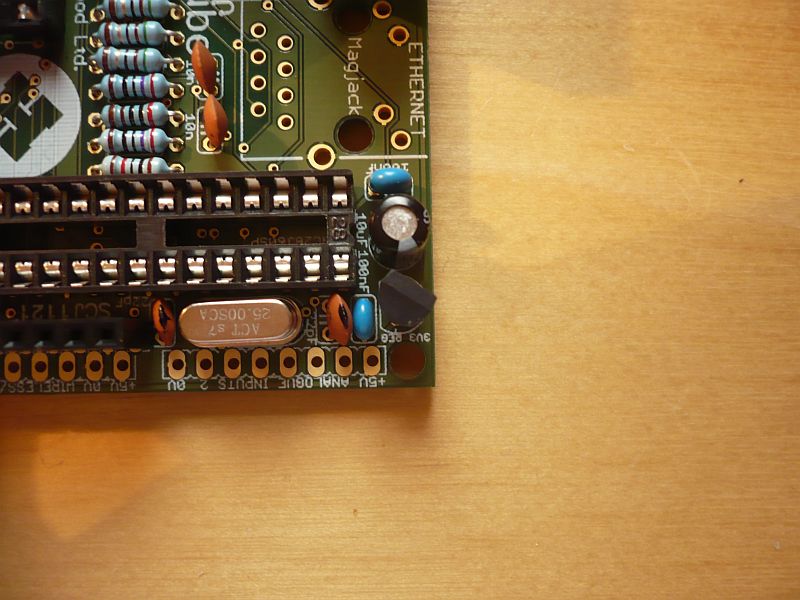
Now - the tricky part. The 3V3 regulator needs to be fitted in a certain way - but not like the pcb symbol. Copy the orientation as in the next 2 pictures.
Step 20
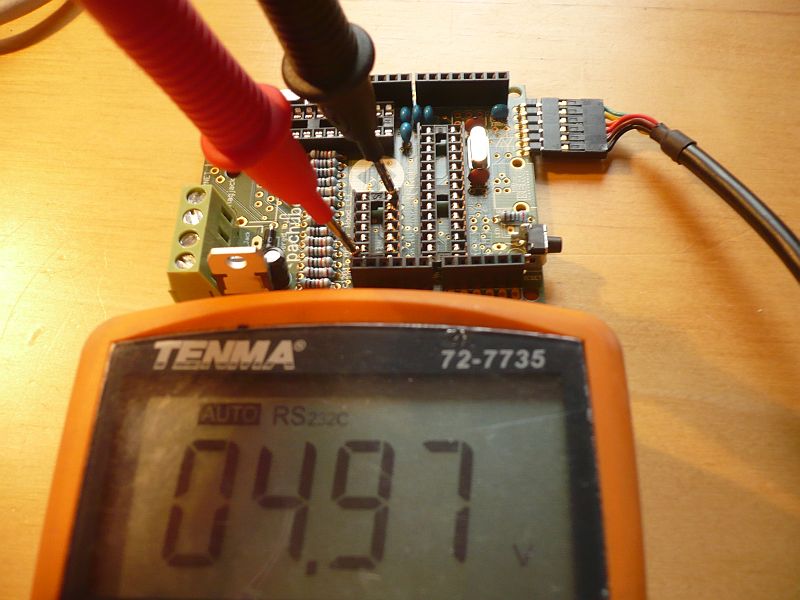
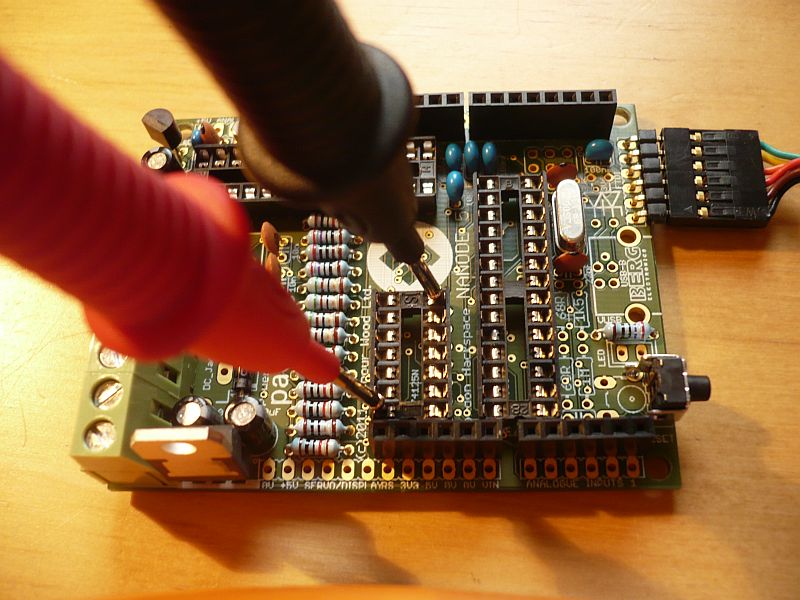
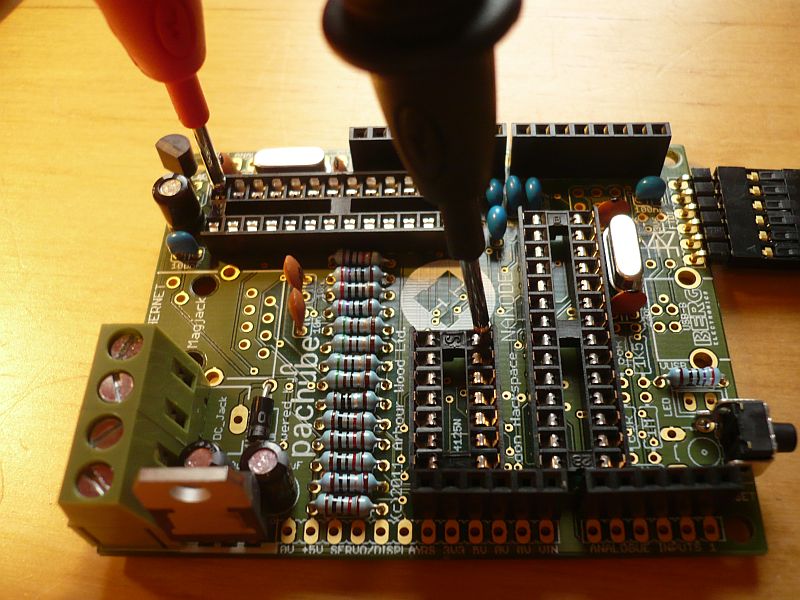
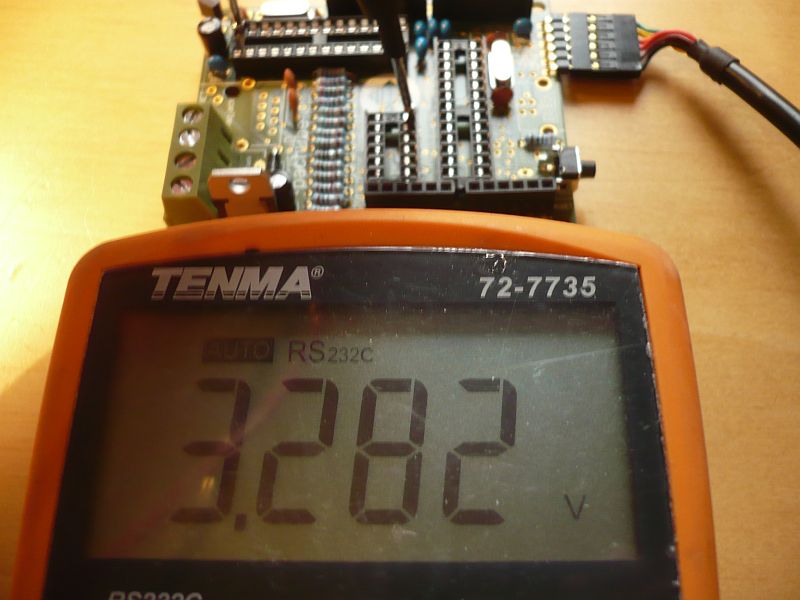
Now we test the board to make sure that the 5V and 3V3 power supply rails are working OK.
Step 21
If the voltage tests check out - we can fit the remaining parts - the Mag-jack connector, the USB connector and the Red LED
Step 22
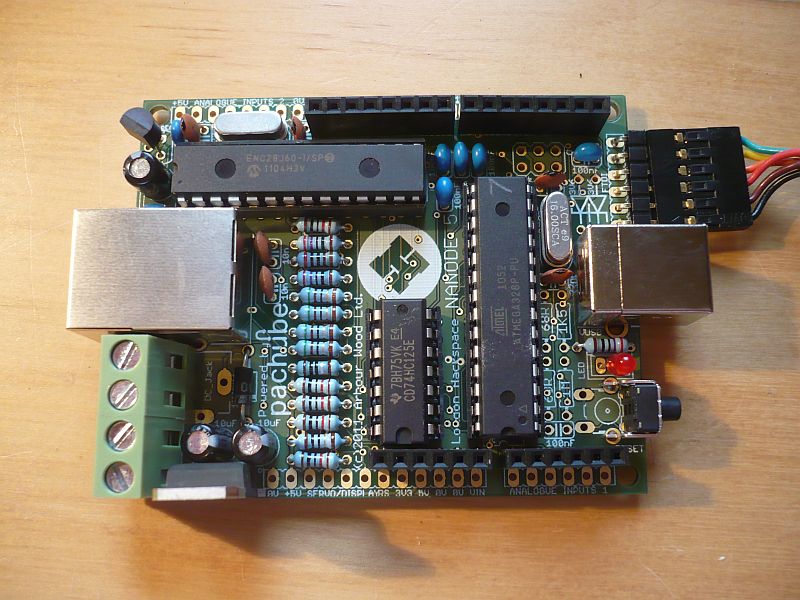
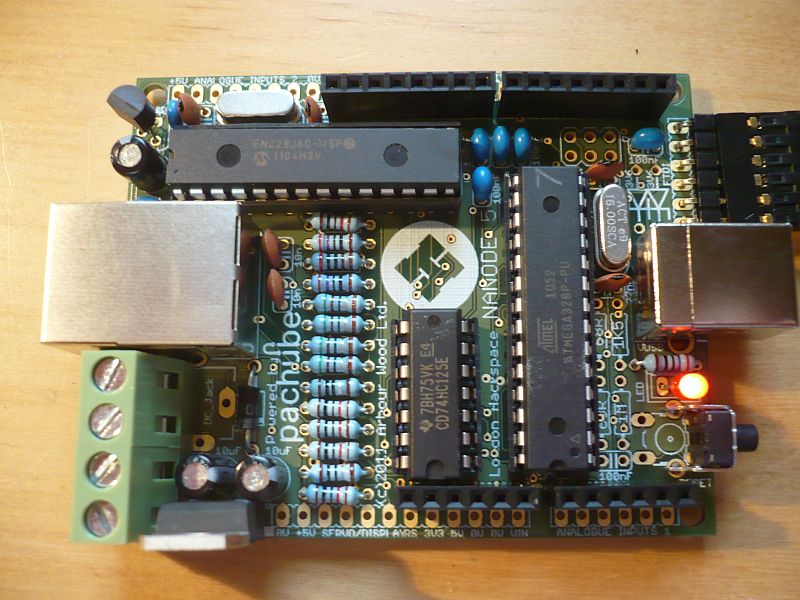
The ICs can be added - making sure you have the correct orientation
