Difference between revisions of "Project:Ubuntu Goblin"
Jump to navigation
Jump to search
| Line 6: | Line 6: | ||
[[file:goblin7.jpg|frame|none|A simple laptop mod using homemade templates and a few cans of spray paint!<br> | [[file:goblin7.jpg|frame|none|A simple laptop mod using homemade templates and a few cans of spray paint!<br> | ||
More photos on the HackSpace flickr page.. [http://www.flickr.com/groups/londonhackspace/pool/with/5030639965/]<br><br> | More photos on the HackSpace flickr page.. [http://www.flickr.com/groups/londonhackspace/pool/with/5030639965/]<br><br> | ||
| − | First you have to remove the shell from the laptop | + | First you have to remove the shell from the laptop so we don't get any paint on the screen or on the internal components. Test the spray paint on the underneath of your shell first, just a small section to make sure it doesn't warp or burn the plastic! <br><br> |
| + | While the shell is drying print off and cut out your stencils or simply buy them. I printed and cut my own. | ||
]] | ]] | ||
Revision as of 21:43, 4 October 2010
| Ubuntu Goblin
| |
|---|---|
| QR code |


Phase 1 - Mod the Shell

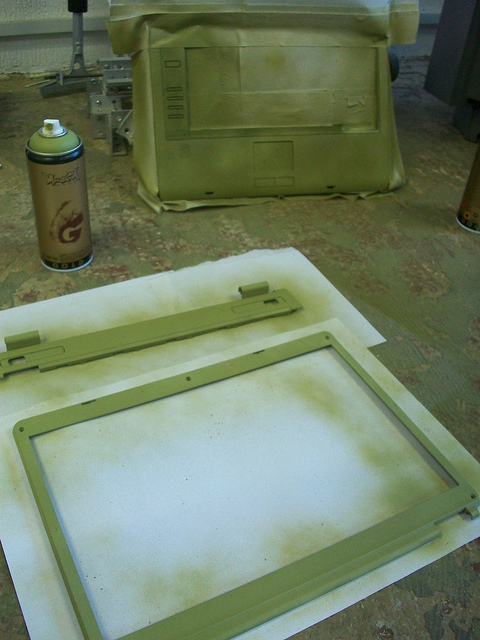
A simple laptop mod using homemade templates and a few cans of spray paint!
More photos on the HackSpace flickr page.. [1]
First you have to remove the shell from the laptop so we don't get any paint on the screen or on the internal components. Test the spray paint on the underneath of your shell first, just a small section to make sure it doesn't warp or burn the plastic!
While the shell is drying print off and cut out your stencils or simply buy them. I printed and cut my own.
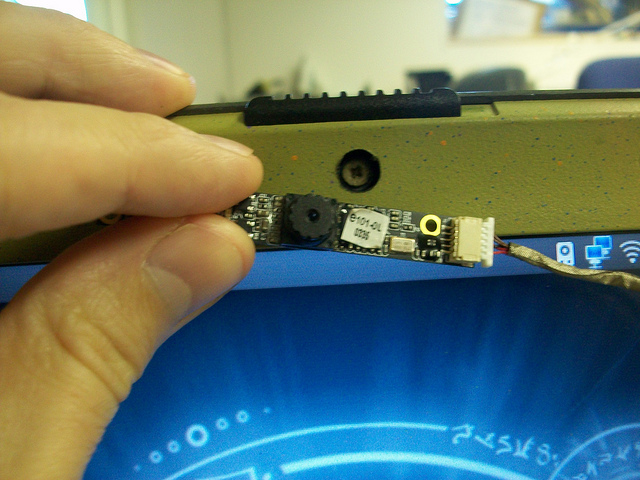
Phase 2 - No Integrated Webcam? no problem..


Integrated a webcam into the screen. Ordered a webcam from Ebay, although the camera was for a different model I did manage to solder it directly onto a usb port. Checkout [2] for the images!