3D Printing/Print via Octoprint: Difference between revisions
From London Hackspace Wiki
(Remove reference to former Octoprint server.) |
m (Typo) |
||
| Line 1: | Line 1: | ||
To print via octoprint, first prepare your STL or GCODE file as normal. When you're ready to print browse to [[3D | To print via octoprint, first prepare your STL or GCODE file as normal. When you're ready to print browse to [[3D Printing|the printer you are using]]. You'll be greeted with the following page: | ||
[[File:octoprint.png|600px]] | [[File:octoprint.png|600px]] | ||
Latest revision as of 14:20, 18 January 2017
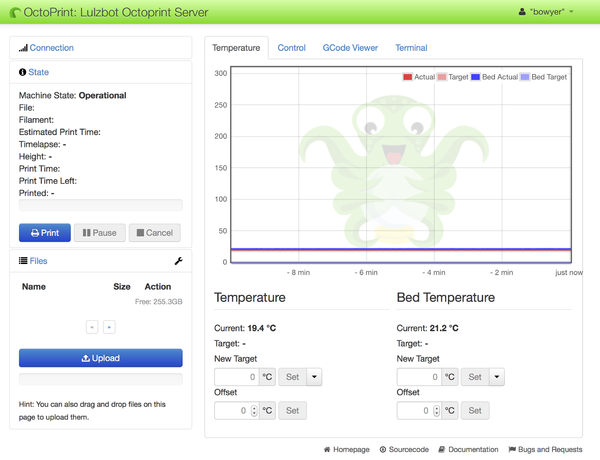
To print via octoprint, first prepare your STL or GCODE file as normal. When you're ready to print browse to the printer you are using. You'll be greeted with the following page:
The Lulzbot will be automatically connected, and you should see the live temperatures of the extruder and bed.
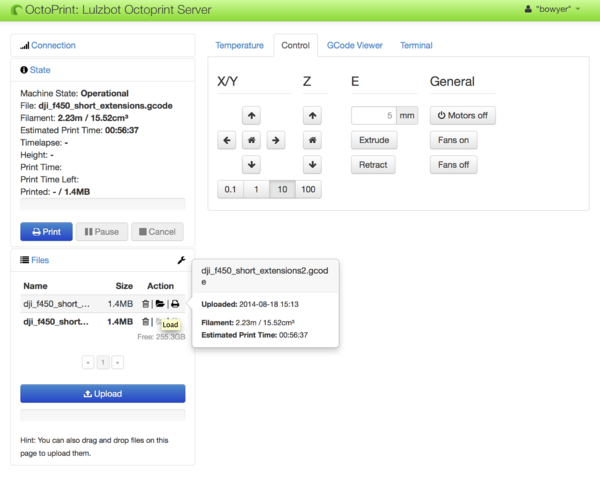
Load your GCODE file using the Upload button. Once your GCODE file is uploaded it will show in the file list. If there's no other files it'll preload your GCODE file ready for printing. Otherwise press the load button to make it the active file:
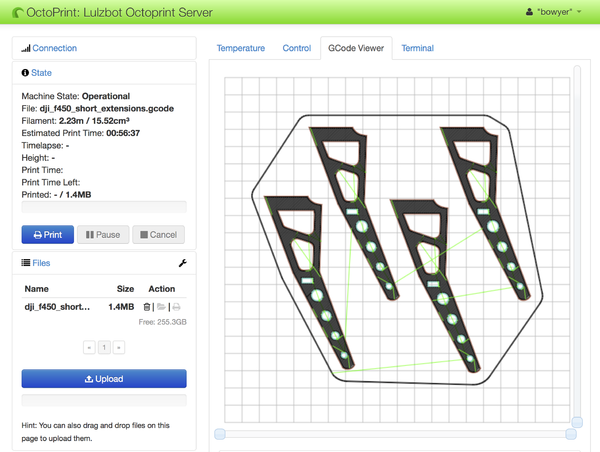
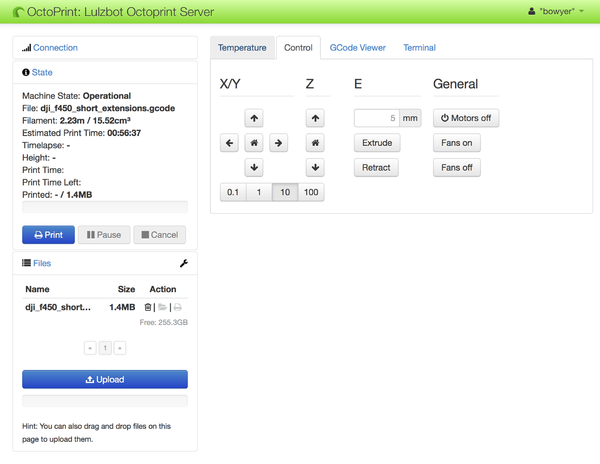
You can view the file on the GCODE viewer and control the Lulzbot from the Control tab:
When you're satisfied you're ready to print, click the Print button.


