Guides/SketchUp for Laser Cutting
From London Hackspace Wiki
< Guides
Google SketchUp is a powerful, free, easy to use 3D CAD package by Google. It is normally used for producing 3D models many of which you'll find on Google Earth. It's intuitive interface had me hooked and I've created a fair few 3D models.
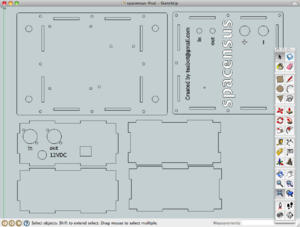
When I wanted to create designs for the laser I had a go with QCad but found the learning curve quite steep and was left frustrated. However, with a little research I found that it is entirely possible to use SketchUp in a 2D mode and export designs in a Laser Cutter compatible DXF format.
If you have any questions regarding SketchUp I'll do my best to answer them --Teabot
Why use Google SketchUp
- Free
- Easy to use
- Intuitive
- Gentle learning curve
- Available for Windows/Mac
- Lots of videos and tutorials available online - see also Personal Fabrication with SketchUp: A Primer
- Books available but rarely needed
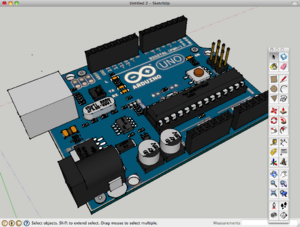
- Some common components that you might wish to use in a laser cut enclosure are already available in the Google 3D warehouse. These can be useful for creating panel cut-outs and mounting holes.
- Can very easily progress from a 2D plan into a 3D model.
2D mode
Watch the 'Using Google SketchUp in 2D mode' video and/or:
- Select a millimeter template either on start-up or in Preferences/Template
- Select: Camera/Parallel Projection
- Select: Camera/Standard Views/Top
- Optionally save this as a template for future laser cutter designs: File/Save as template
Exporting
Make sure that you have installed the DXF export plug-in.
- Go to: Tools/Export to DXF or STL
- Export units: millimeters
- Export to DXF: lines

